Adding the web parts contained in the Nevron SharePoint Vision suite to a SharePoint page is pretty simple. Follow these steps:
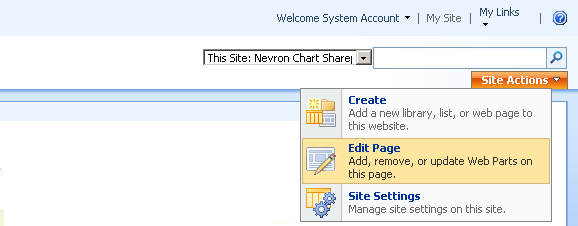
1. Switch the page to Edit mode - a page is switched to edit mode from the Site Actions - Edit Page command.
 |
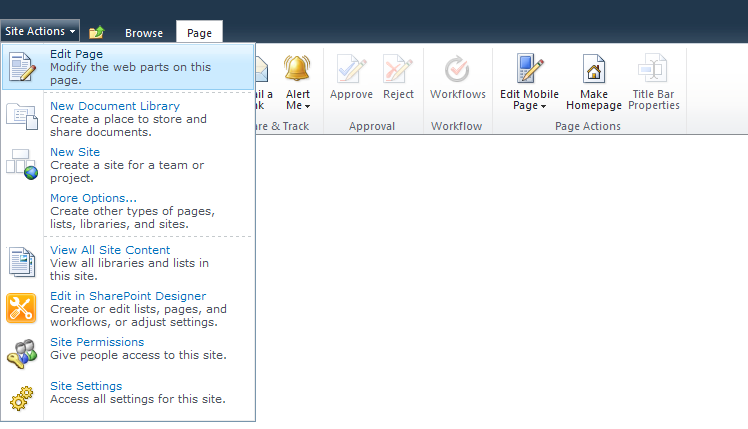 |
| SharePoint 2007 | SharePoint 2010 |
2. Click the Add Web Part Button - when the page is in Edit Mode, click on the Add a Web Part button, which is located at the top of the page:
 |
 |
| SharePoint 2007 | SharePoint 2010 |
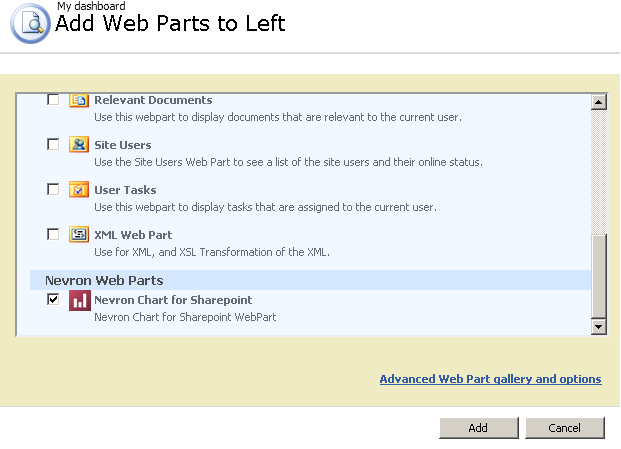
3. Select the Nevron Web Part to Add - in the Add Web Parts selection panel, find the Nevron Web Parts section. Choose the web part that you want to add to the page and click the add button:
 |
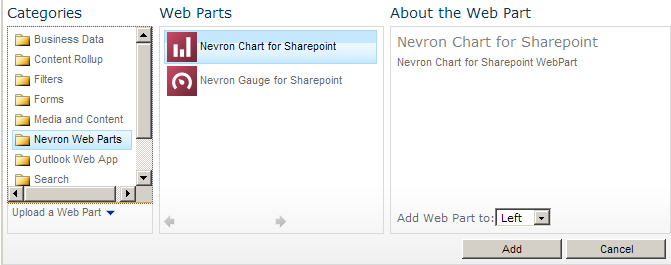 |
| SharePoint 2007 | SharePoint 2010 |
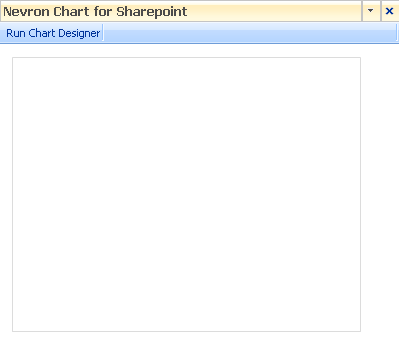
4. Run the Web Part Designer - once the web part is added to the page it is time to edit it. The design time editing of all Nevron web parts is accomplished by running the respective web part designer. For the chart web part added in the previous step, you must see a blank chart with a single Run Chart Designer button located on top - click it to launch the designer:
 |
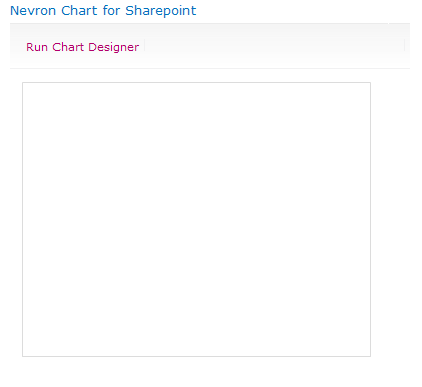 |
| SharePoint 2007 | SharePoint 2010 |
The settings available in the designer of each web part are explained in the following topics:
Nevron Chart for SharePoint - The Chart Designer.
Nevron Gauge for SharePoint - The Gauge Designer.
Common for chart and gauge designers is that the first step that you must perform is to connect your web part to a data source. The connection is established from the Data Source page, which is the first page to be displayed by both web parts, when you first launch the respective designer. See Connecting to Data for a complete discussion.